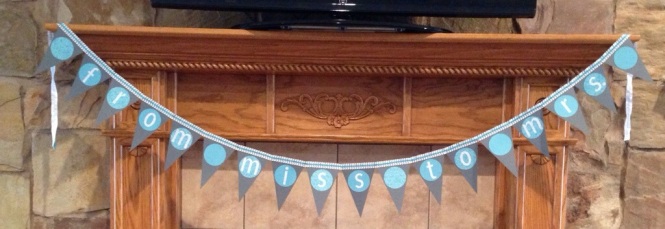
I’m finishing up bridal shower decorations today, so I thought I’d share a quick tutorial showing how to use 12×12 paper to make an easy paper banner.
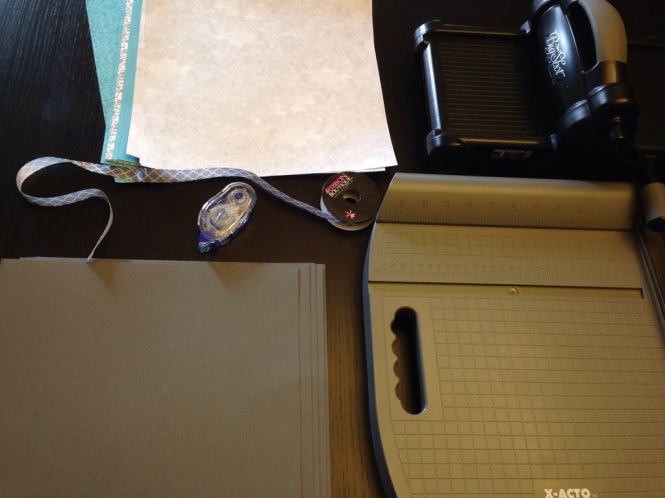
Supplies:
12×12 paper
Paper cutter (or ruler & scissors)
Ribbon
Sewing machine (or strong adhesive if you prefer not to sew)
Banner decoration (letters, shapes, etc) to fit your theme
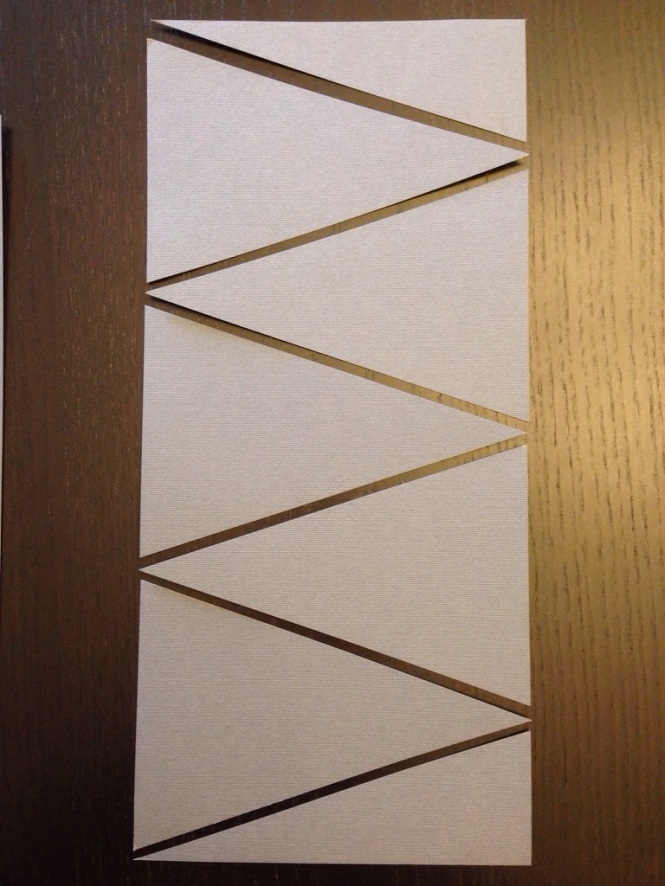
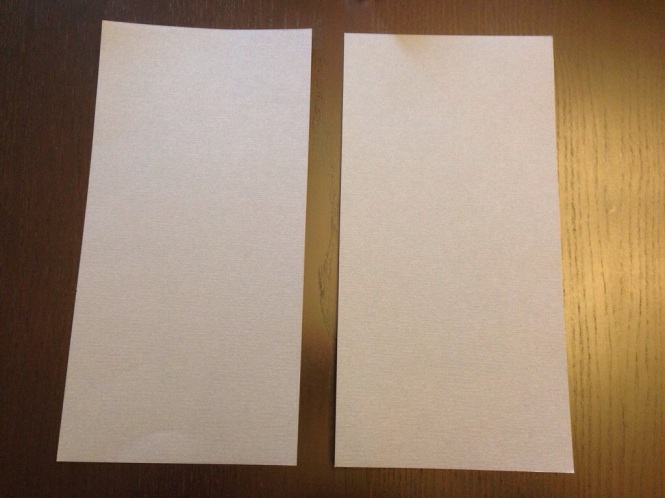
The banner pieces will be 4″ wide at the top & 6″ tall. Make small marks on the edges of your paper at 4″ & 8″ on one side and 2″, 6″, & 10″. Either draw a zigzag line with a ruler between the marks & cut, or line up the marks on the blade of your paper cutter & cut each piece. You will end up with 5 banner pieces & 2 small waste pieces as shown above. Each 12×12 piece of paper will make 10 banner pieces, so for my banner, I only needed 2 pieces of cardstock.
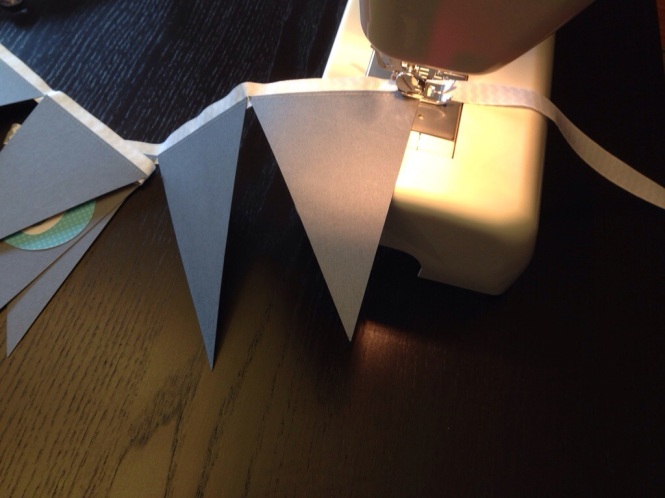
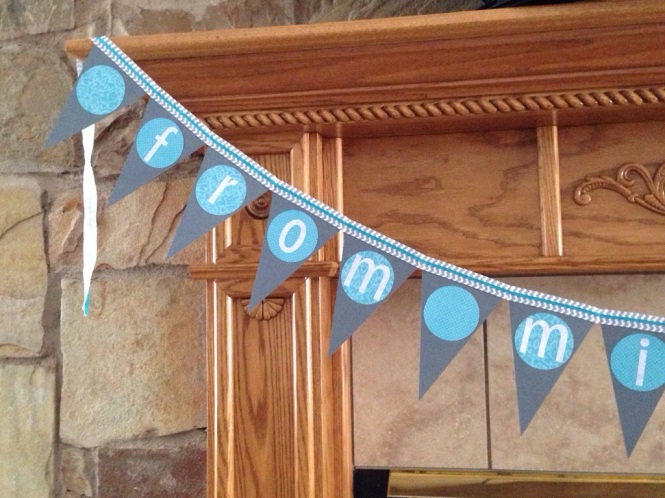
After adding my decorations to the front, I sewed the pieces onto a length of 1/2″ grosgrain ribbon.
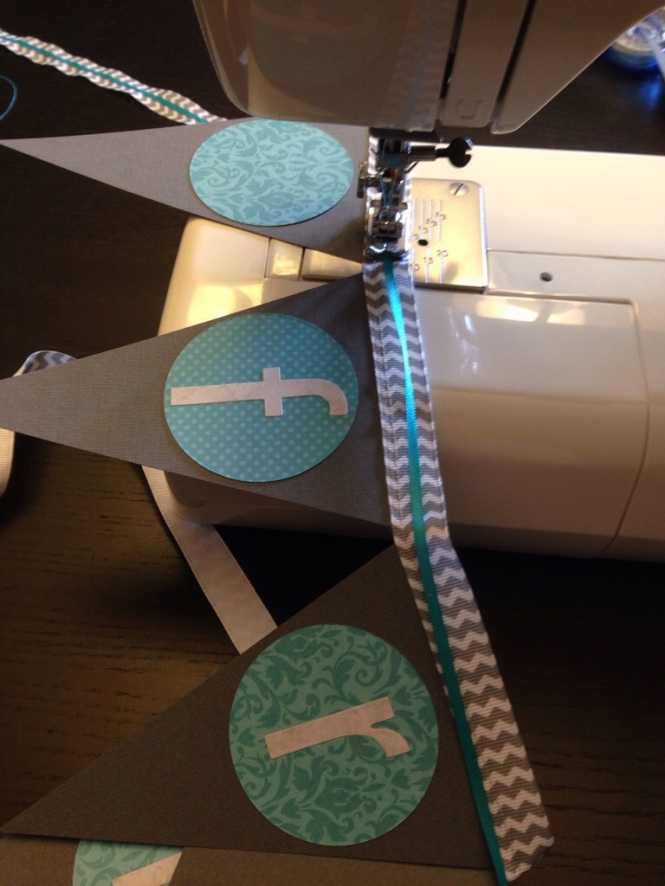
I finished the banner by sewing a skinny coordinating ribbon on the front.
The entire banner, including cutting out circles & letters with my Big Shot, took under an hour.
